
Introduction
Grow garlic in your kitchen;- Are you a garlic lover who wants to take your obsession to the next level? Do you want fresh, homegrown garlic right in your kitchen? Well, look no further! Learning how to grow garlic in your kitchen is easier than you might think. Not only will it give you access to flavorful and aromatic cloves whenever you need them, but it’s also an excellent way to add some greenery and freshness to your living space. So why not roll up those sleeves and get planting? Let’s dive into the world of growing garlic at home!
What you’ll need
Before you start growing garlic in your kitchen, you’ll need to gather a few essential items. Don’t worry; these are all simple things that you probably already have on hand.
Firstly, you’ll need a container for planting your garlic. This can be just about anything with good drainage, such as a pot or even an old shoe! Just make sure it’s big enough to hold at least one bulb of garlic and some soil.
Next up is the soil itself. You don’t necessarily need fancy gardening soil – regular potting mix will do just fine. However, make sure it’s well-draining and fluffy so that your garlic has plenty of room to grow.
Of course, you’ll also need some actual garlic bulbs! Look for ones with plump cloves and avoid any that look shriveled or moldy.
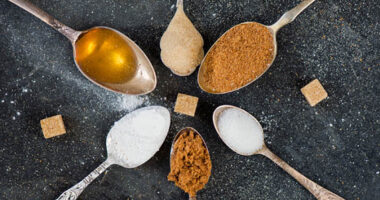
Consider investing in some fertilizer specifically designed for vegetables like tomatoes or peppers. Garlic is part of the same family as these plants (the allium family), so they’ll benefit from similar nutrients.
With just these few basic supplies on hand, you’re ready to get started on your own indoor garlic garden!
Instructions
1. Fill your container with soil, leaving about two inches of space at the top. If you’re using a pot or planter, make sure to punch a few drainage holes in the bottom first.
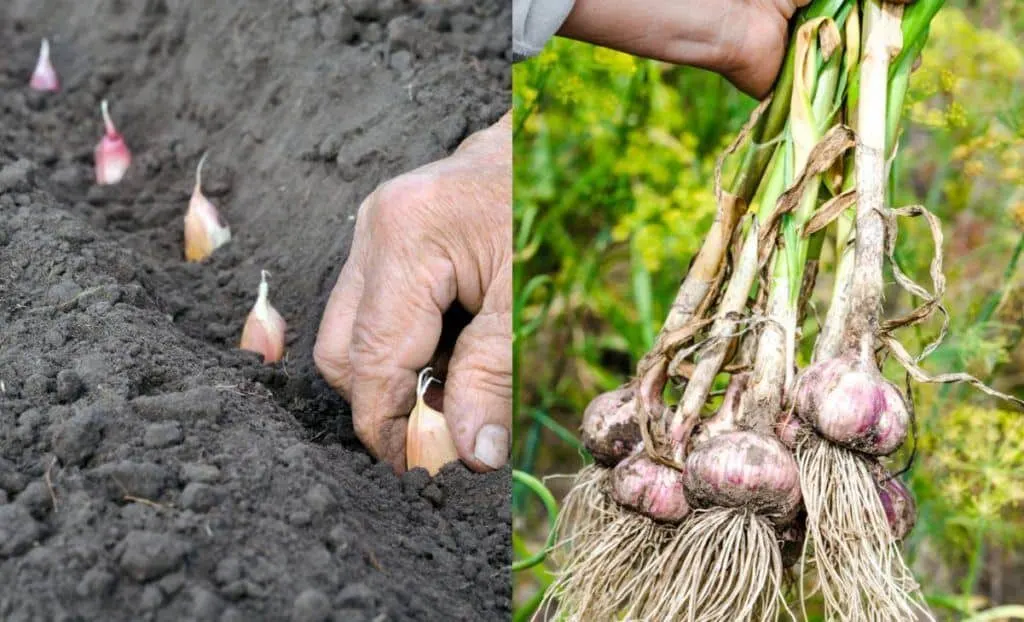
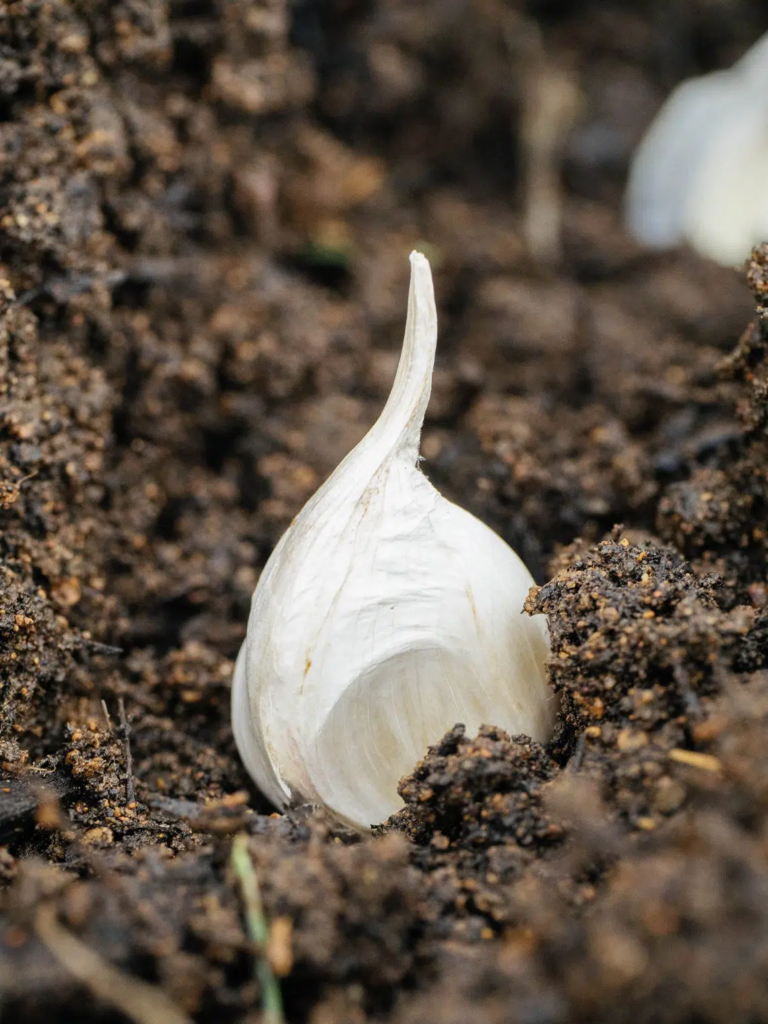
2. Separate your garlic bulb into individual cloves and gently press each one into the soil, pointed end up. Space them out so that there’s at least an inch between each one.
3. Gently pat down the soil around each clove to secure it in place and add a thin layer of compost or fertilizer on top. Water lightly and keep the soil moist but not soggy until sprouts appear in about a week or two.
4. Once your garlic starts growing, give it plenty of sunlight (at least six hours per day) and water as needed to keep the soil from drying out completely. You can also move your pot outdoors if you have access to an area that receives direct sunlight for most of the day.
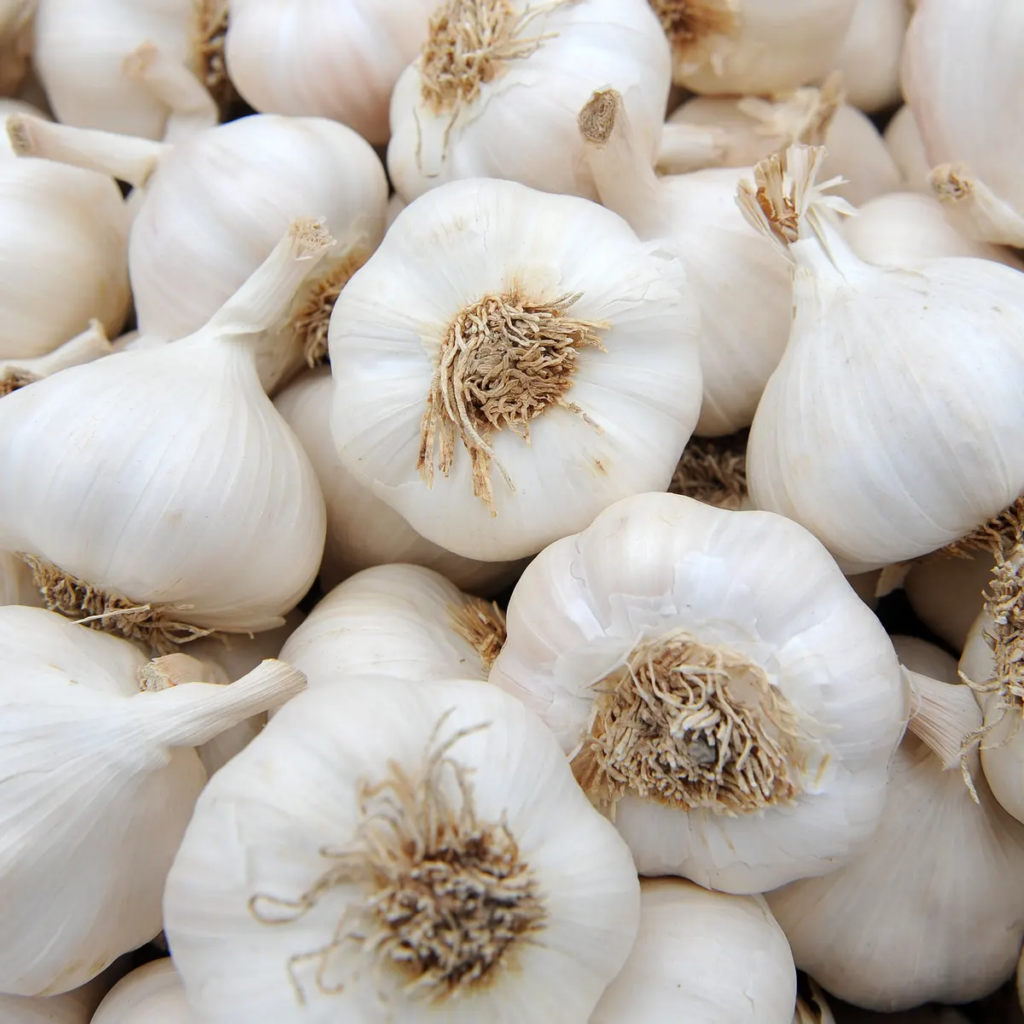
5. Once all of the leaves have turned brown and dried up, it’s time to harvest! Carefully dig up each bulb with a garden trowel and brush off any excess dirt before storing in a cool, dry place for future use.
Planting your garlic
Planting garlic in your kitchen can be done all year round, but it’s best to plant during the fall or winter. Start by breaking apart a garlic bulb and choose the largest cloves with no signs of damage or mold.
Fill a pot with well-draining soil that’s rich in organic matter, leaving about an inch from the top. Plant each clove about two inches deep and four inches apart, making sure the pointed end is facing upwards.
Water your garlic lightly after planting and keep the soil moist but not too wet. Garlic prefers cool temperatures between 60-68°F, so avoid placing it near heat sources or direct sunlight.
In about three weeks, you should see green shoots emerging from the soil. Continue watering regularly and fertilize once every few weeks with a balanced fertilizer.
As your garlic grows taller, trim any yellowed leaves to encourage growth of new ones. And if you notice any flower stalks forming on your plants, remove them as they will hinder bulb development.
With proper care and patience, you’ll soon have freshly grown garlic right in your own kitchen,
Happy planting.
Caring for your garlic
Caring for your garlic is an essential part of ensuring a healthy and successful crop. Here are some tips to help you care for your garlic plants:
1. Watering: Garlic needs regular watering, especially during the growing season. Be sure to water consistently and deeply, making sure that the soil remains moist but not too wet.
2. Fertilizing: Garlic will benefit from a balanced fertilizer applied in early spring just as it begins to grow. Avoid fertilizers high in nitrogen, which can lead to excessive foliage growth at the expense of bulb development.
3. Mulching: Mulching around your garlic plants can help retain moisture in the soil while also suppressing weeds that could compete with your bulbs for nutrients.
4. Pest control: Garlic is generally resistant to pests and diseases, but it’s still important to keep an eye out for any signs of trouble such as aphids or fungal infections.
5. Harvesting time: When the leaves start turning yellow or brownish, stop watering altogether and wait two weeks before harvesting; this will allow them enough time to dry out properly before being harvested.
By following these simple guidelines, you’ll be well on your way towards growing delicious garlic right in your own kitchen!
Harvesting your garlic
Harvesting your garlic is an exciting and rewarding experience. After months of caring for your garlic, it’s finally time to enjoy the fruits of your labor. The best way to know when it’s time to harvest is by observing the leaves. When they start turning yellow and drying out, this means that the bulbs are ready.
To start harvesting, use a garden fork or shovel to loosen the soil around each bulb carefully. Try not to damage the bulbs in any way as you remove them from the ground. Once all bulbs are harvested, brush off any excess dirt gently.
Next, you’ll need to cure your garlic before using it. To do this, lay out your freshly harvested garlic on a dry surface such as a wire rack or basket with good air circulation. Store in a cool and dark place for about two weeks until all papery layers have dried out completely.
Once cured and ready for storage, cut off any remaining foliage about an inch above the bulb’s neck using scissors or pruning shears carefully. Your home-grown garlic is now ready for use in all of your favorite dishes!
Using your garlic
Using your garlic is the best part of growing it in your kitchen. Freshly harvested garlic has a more intense flavor than store-bought ones, and you can use it in various dishes to add depth and complexity.
One popular way of utilizing fresh garlic is by making homemade garlic butter. Simply mix together softened unsalted butter with finely minced fresh garlic, parsley, salt, and black pepper. This flavorful spread is perfect for bread or as a seasoning for veggies or meats.
Another classic dish that benefits from the addition of fresh garlic is pasta aglio e olio. Cook spaghetti until al dente then sauté sliced garlic in olive oil over medium heat until fragrant but not browned. Toss cooked pasta with the garlicky oil along with red pepper flakes and freshly grated Parmesan cheese.
Freshly chopped raw garlic also adds zing to salad dressings like Caesar dressing or vinaigrettes. Just make sure to mince it very finely so that its strong flavor doesn’t overpower other ingredients.
In summary, using freshly grown kitchen-grown garlic can elevate any dish into something special.
Conclusion
Growing garlic in your kitchen is a fun and rewarding project that anyone can try. With just a few simple steps, you can enjoy the taste of fresh, home-grown garlic all year round!
Remember to choose high-quality organic garlic bulbs, plant them in well-draining soil, give them plenty of sunlight and water regularly. With patience and care, you’ll have fresh green shoots popping up before you know it.
Growing garlic is not only an excellent way to add flavor to your food but also a fantastic experience for gardeners at any level. And with the tips above, you’ll be able to grow delicious garlic plants right in your kitchen.
So why not take advantage of this easy-to-grow crop? Start planting today and enjoy the many benefits of growing garlic!